
Appearance
Lesson editor
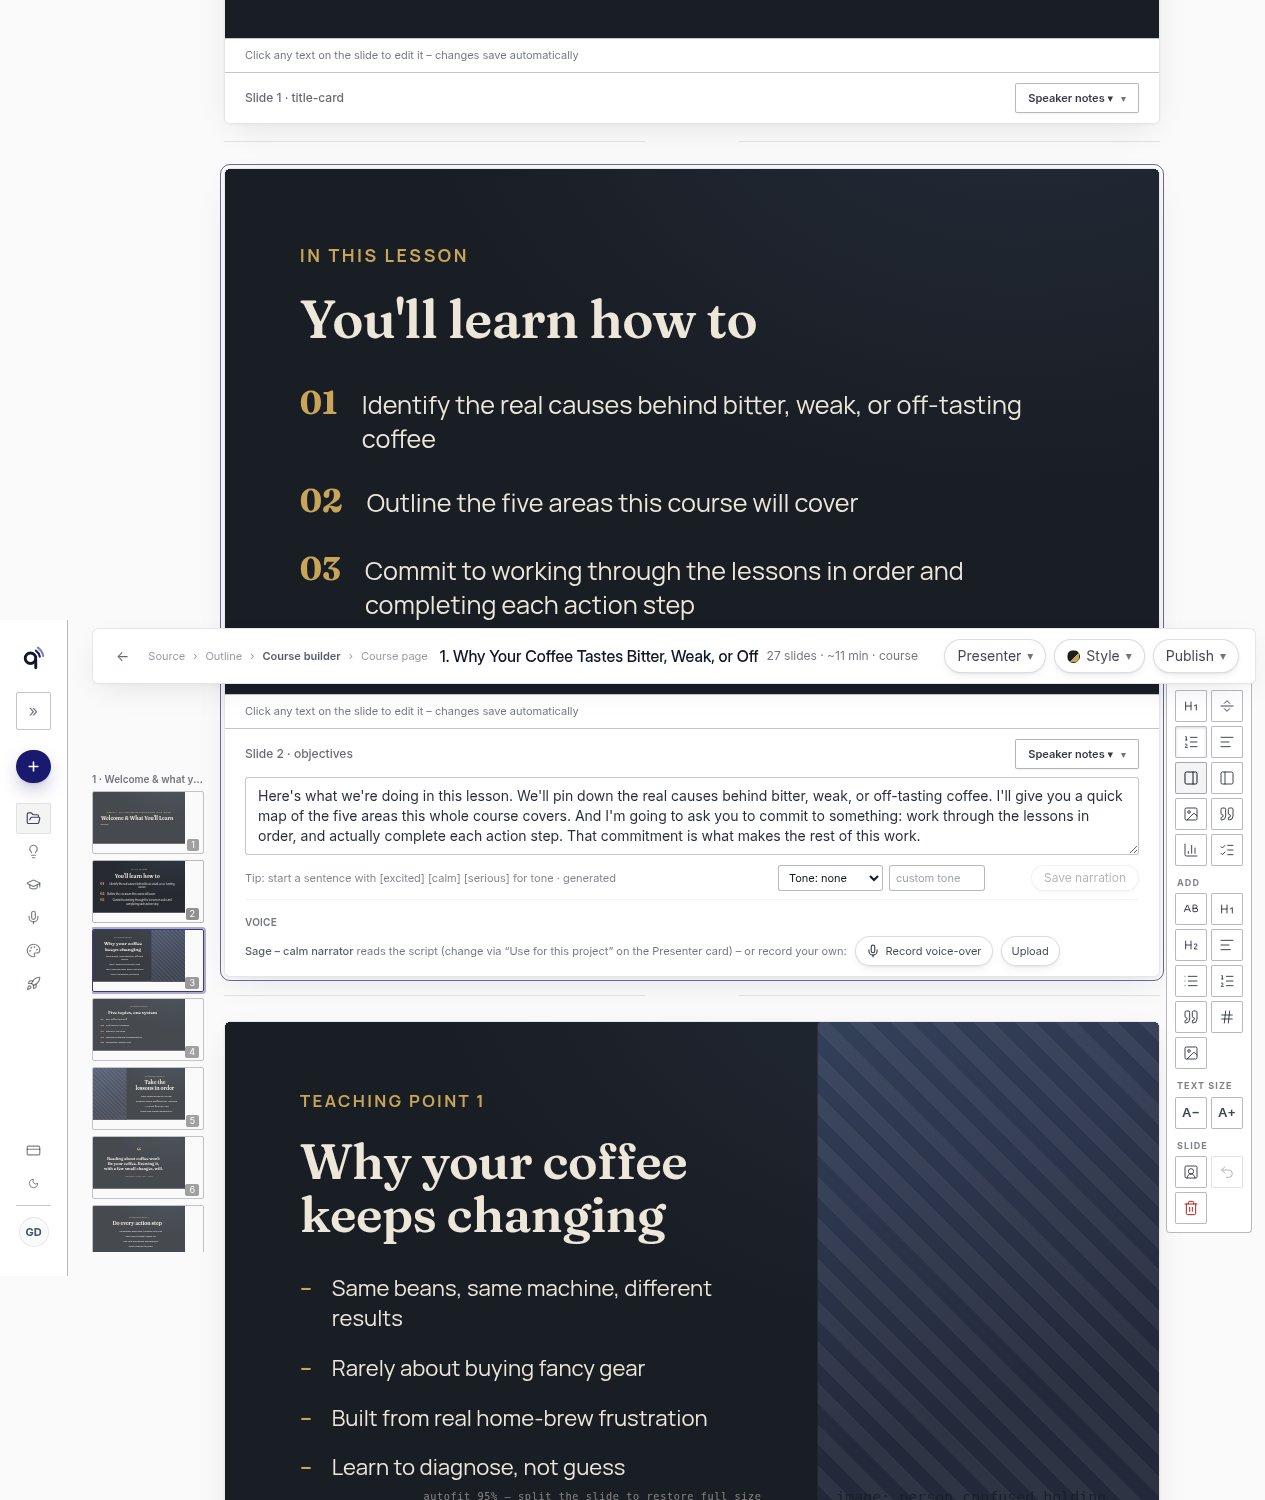
This is where you edit a lesson after slides exist. Open it from the Course builder.
Open a lesson
- Open Course builder.
- Select a lesson that already has slides.
- Click Open slides →
You land on that lesson. Slides scroll in one workspace. A left strip of thumbnails jumps you between slides.
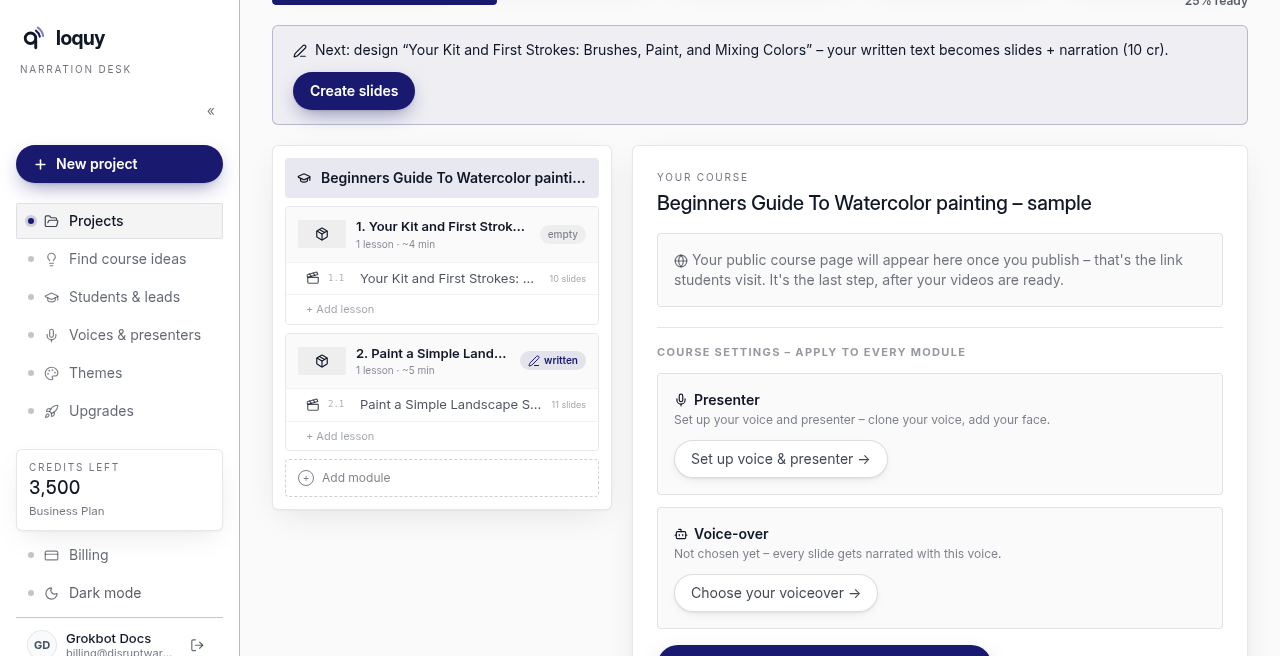
Edit headings and bullets
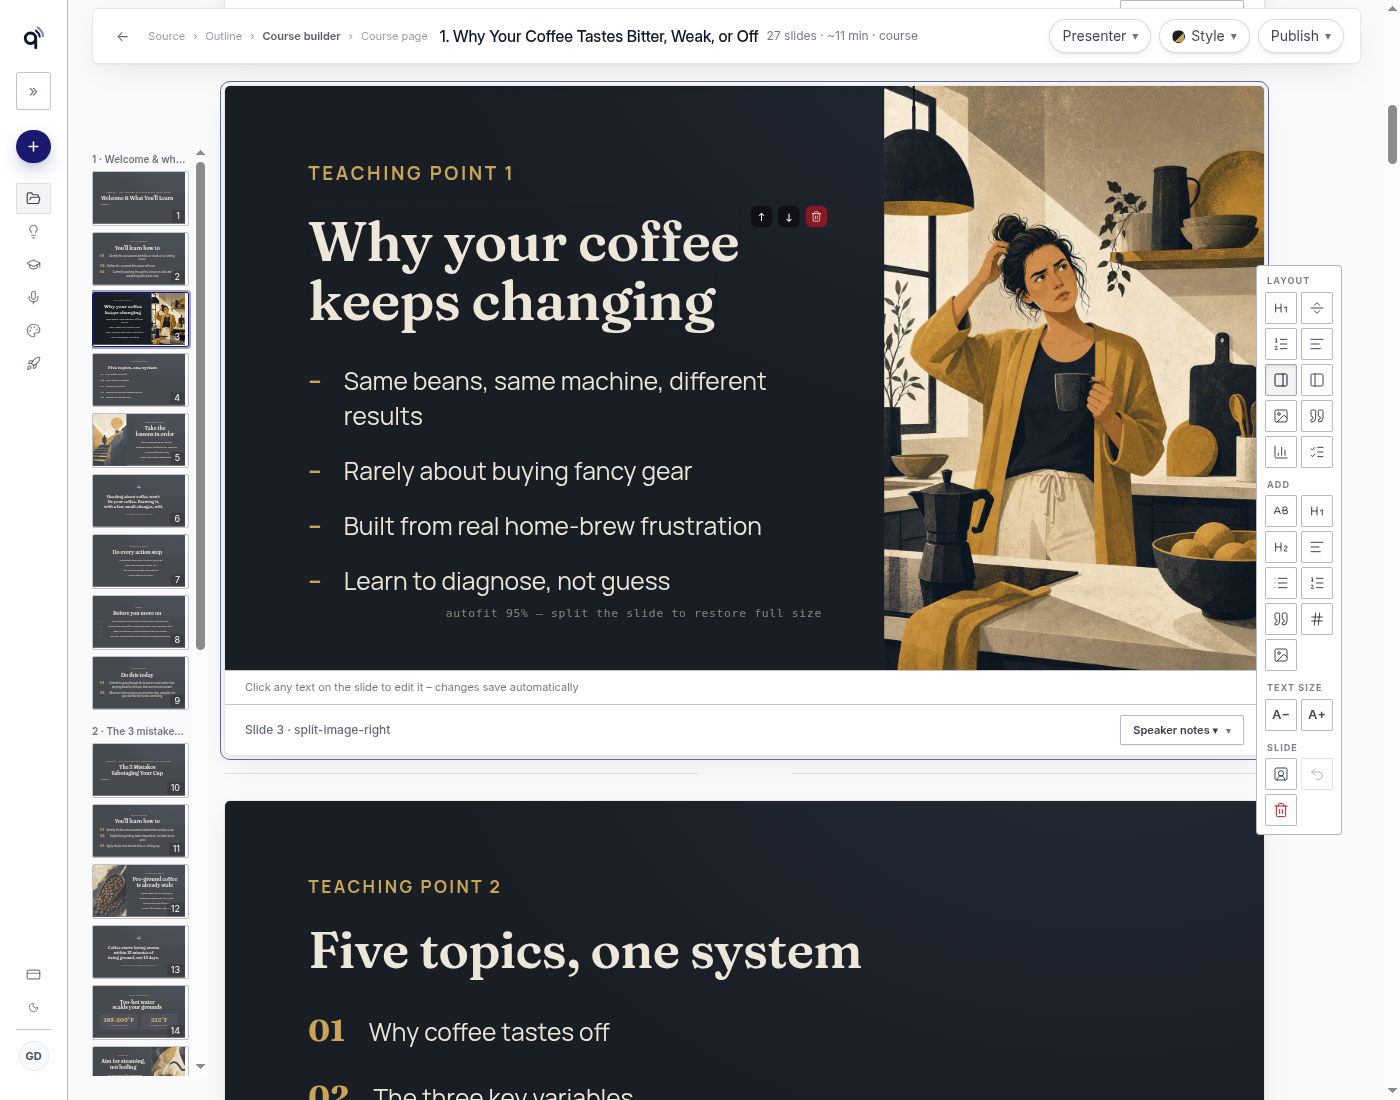
Click any text on the slide to edit it. Changes save automatically.
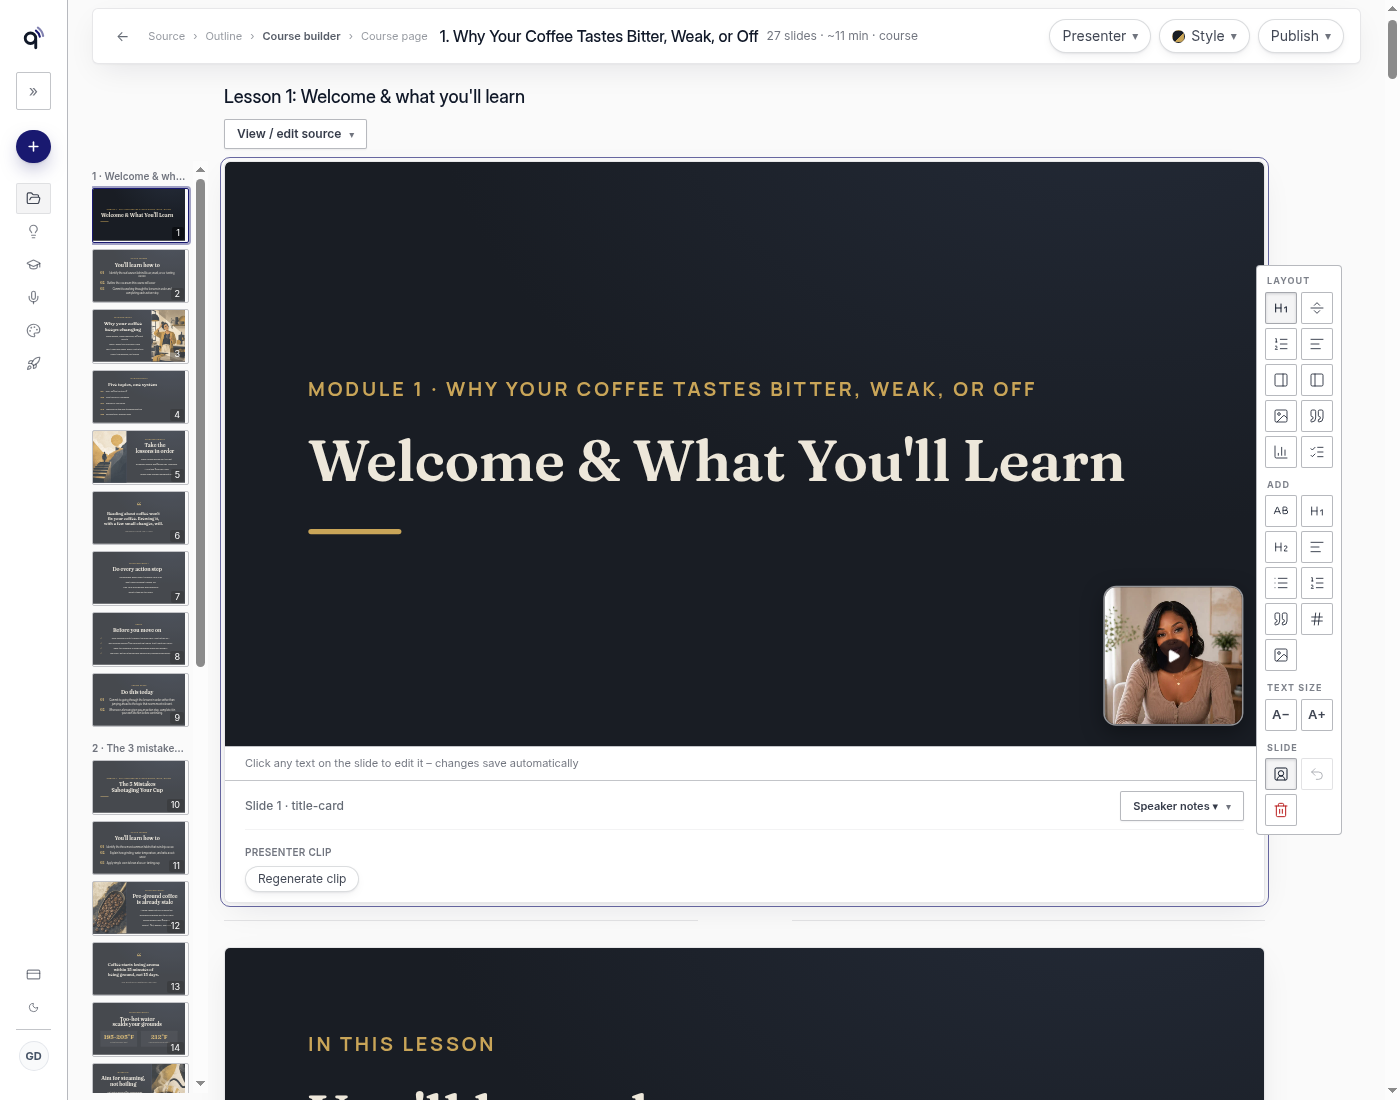
The line under the slide says: Click any text on the slide to edit it – changes save automatically.
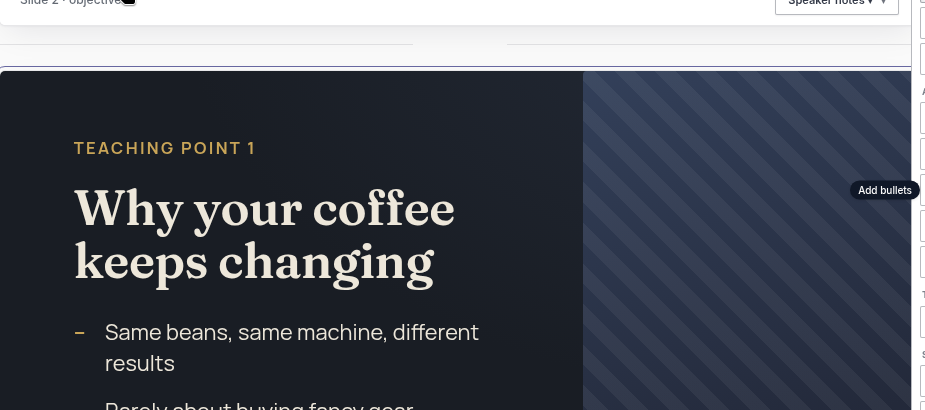
Need another heading or list? Use the ADD group in the right toolbar. See Toolbar reference.
Swap a slide layout
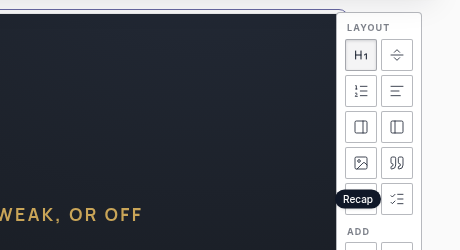
The right toolbar has a Layout group. Click a layout icon to switch this slide. Tooltips name each one.
In toolbar order:
- Title card — opening slide for a lesson (title and a short hook)
- Section break — a divider slide between topics
- Objectives — what they will learn in this lesson
- Content — the main teaching slide (heading + bullets)
- Split · image right — text with a picture on the right
- Split · image left — text with a picture on the left
- Full-bleed image — a photo with text overlaid
- Quote — a pull quote or key line
- Stat row — big numbers side by side
- Recap — end-of-lesson summary
Style
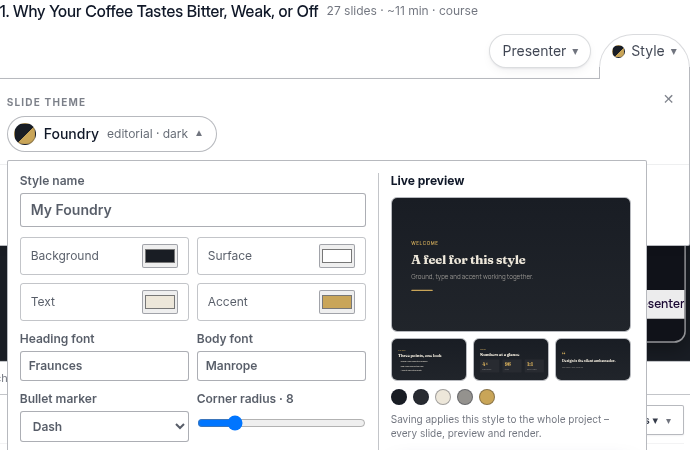
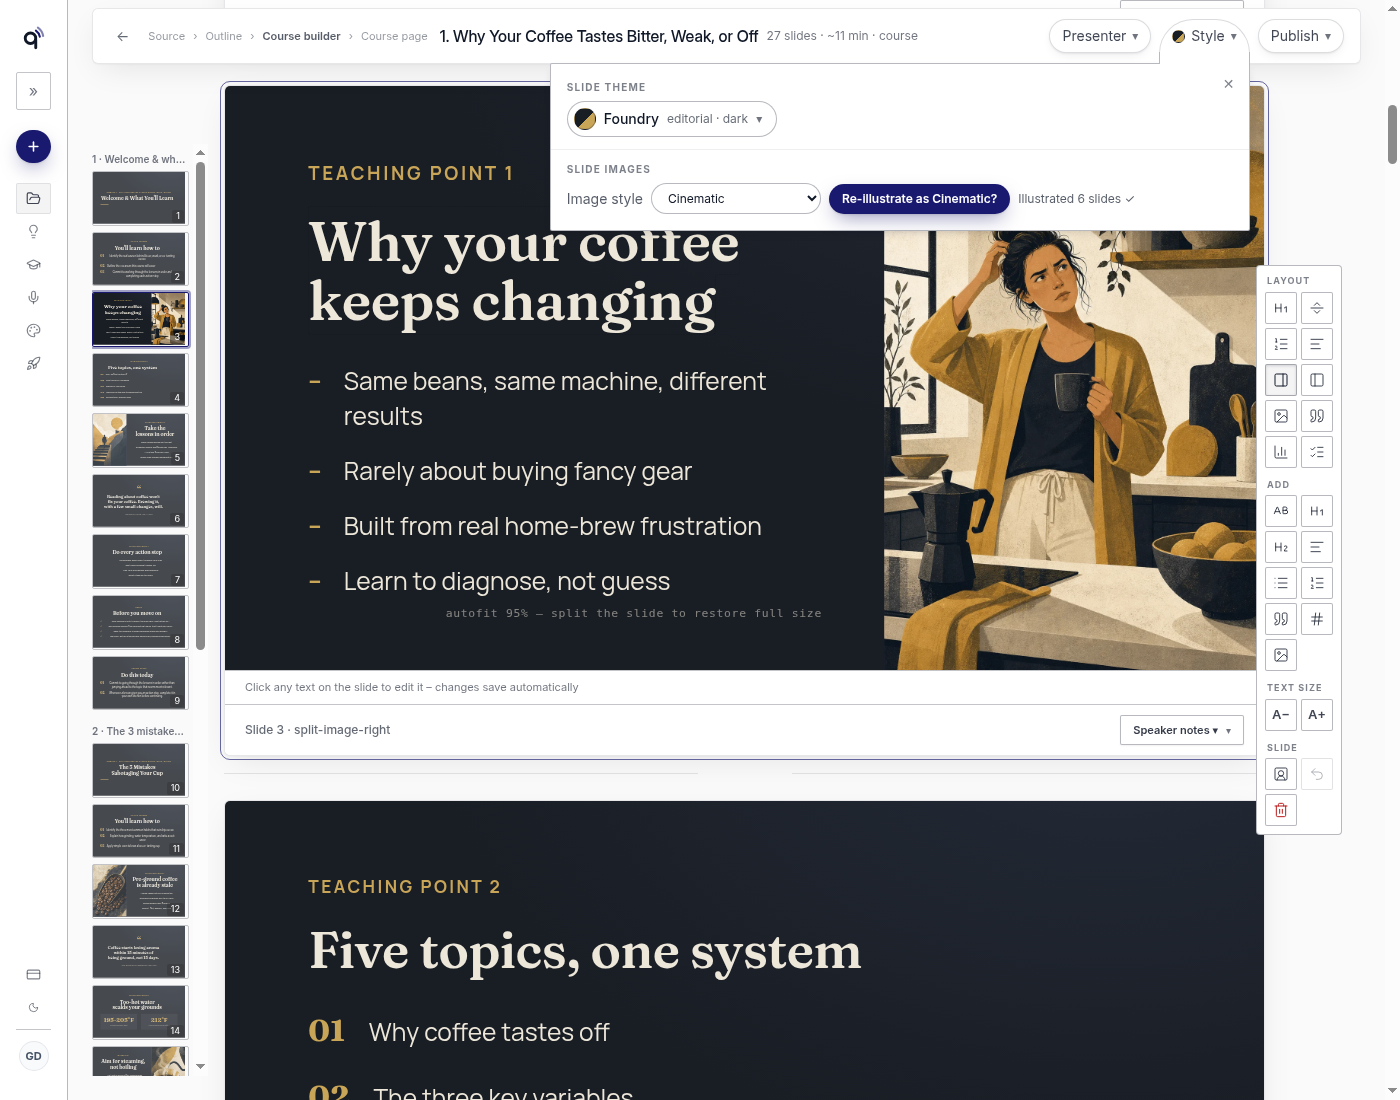
The top bar has a Style door. That is where you pick the look for this project — not only a theme, but the image style and batch illustrate controls too.
Inside you get the theme gallery with color swatches. Click a look and the slides reskin at once. The full gallery also lives under Themes. The Style door itself stays here.
Premium and Business also get the custom theme builder. Open the theme picker, then Customize this style. Fields: Style name, Background, Surface, Text, Accent, Heading font, Body font, Bullet marker, and Corner radius. Save & apply to course applies that look to the whole project.
Illustrate every slide in one click
Premium and Business get the batch Illustrate slides button. Standard sees it with a lock and can still generate images one at a time on any slide, 2 credits each. Premium and Business also get empty slots filled automatically right after generation.
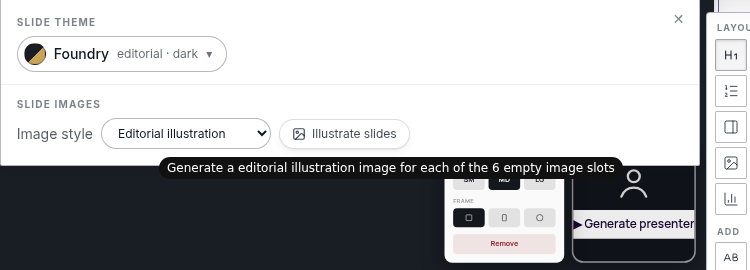
Next to the theme picker you will find an image style droplist and an Illustrate slides button.
Pick an image style — Photorealistic, Cinematic, Editorial illustration, Flat vector, Soft 3D render, or Minimal line art. One style applies to the whole project, so every image matches and your slides look designed, not assembled.
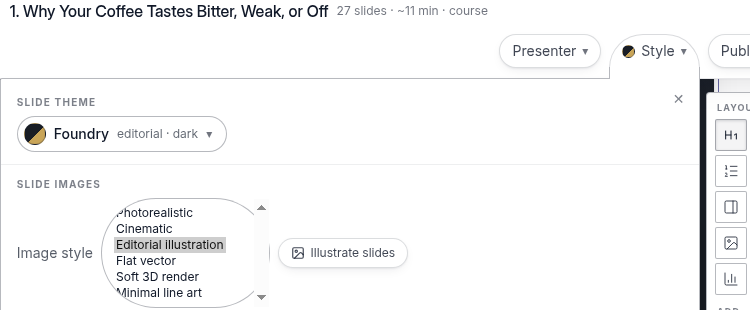
Click Illustrate slides. Loquy generates an image for every empty image slot in the module at once — no filling slides one by one. When it finishes, the button can read Illustrated 6 slides ✓ (the count is however many slots it filled).
Each image costs 2 credits. The button's tooltip says how many empty slots it will fill before you click, so you know the total.
It follows your theme. Switch to a different image style (for example Cinematic) and the same control becomes an inline confirm: Re-illustrate as Cinematic? Pick a bold theme, pick Cinematic, one click — the whole module is art-directed. You can dismiss by switching the style back.
If credits run out partway it fills what it can and says so plainly (Illustrated 4 of 9 – ran out of credits). Nothing is lost — top up and run it again.
AI images
Hover an image slot. The sparkle control is Generate with AI.
Describe the image, then click Generate.
Each AI image costs 2 credits. Same price as a slot filled by Illustrate slides — this control is one slide at a time, on every plan.
You can also Upload image or Choose image from pictures already in the project.
Narration (Speaker notes)
Under the slide, click Speaker notes ▾.
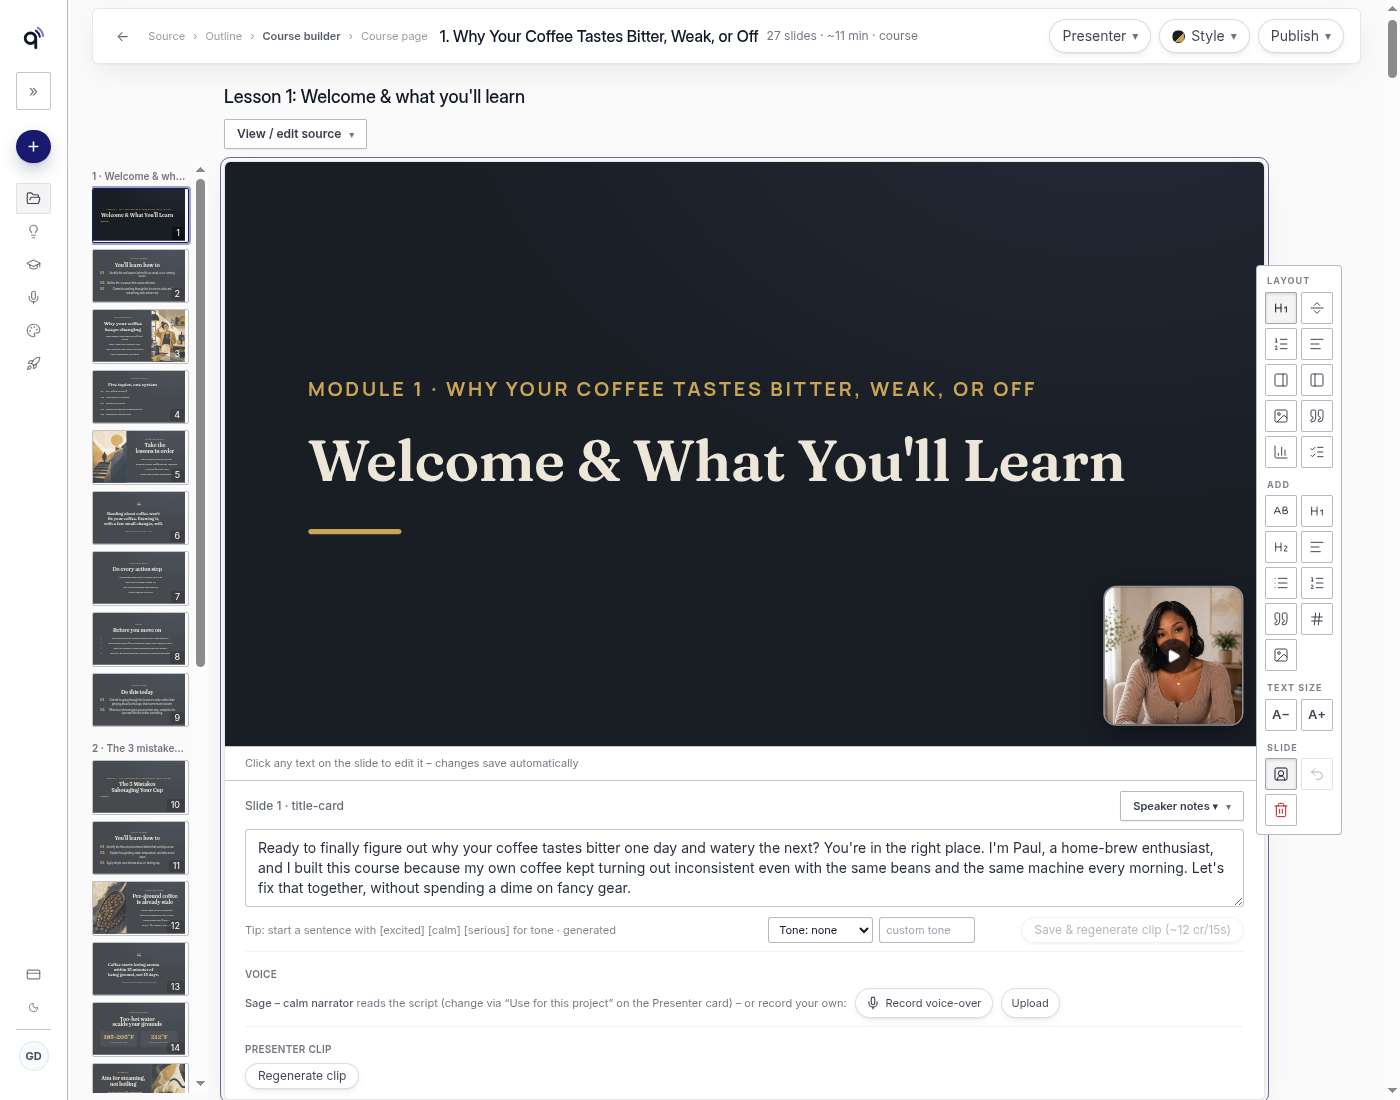
Edit the script, then click Save narration. Saving re-voices the slide with the lesson voice.
If the slide already has an on-screen presenter clip, the button says Save & regenerate clip (~12 cr / 15s) instead. See Presenter.
Record or upload audio for one slide
Still under Speaker notes, in the Voice row:
- Record voice-over — record this slide yourself
- Upload — use an audio file you already have
That replaces the AI voice for that slide only. Slides without custom audio use the lesson voice.
To go back to the AI voice, click Remove – use TTS.
Text size
The right toolbar has a Text size group: A− and A+.
They change the text size on the current slide. Autofit keeps the words inside the margins.
Presenter
Premium and Business can drop an on-screen presenter onto individual slides. Standard is voice only.
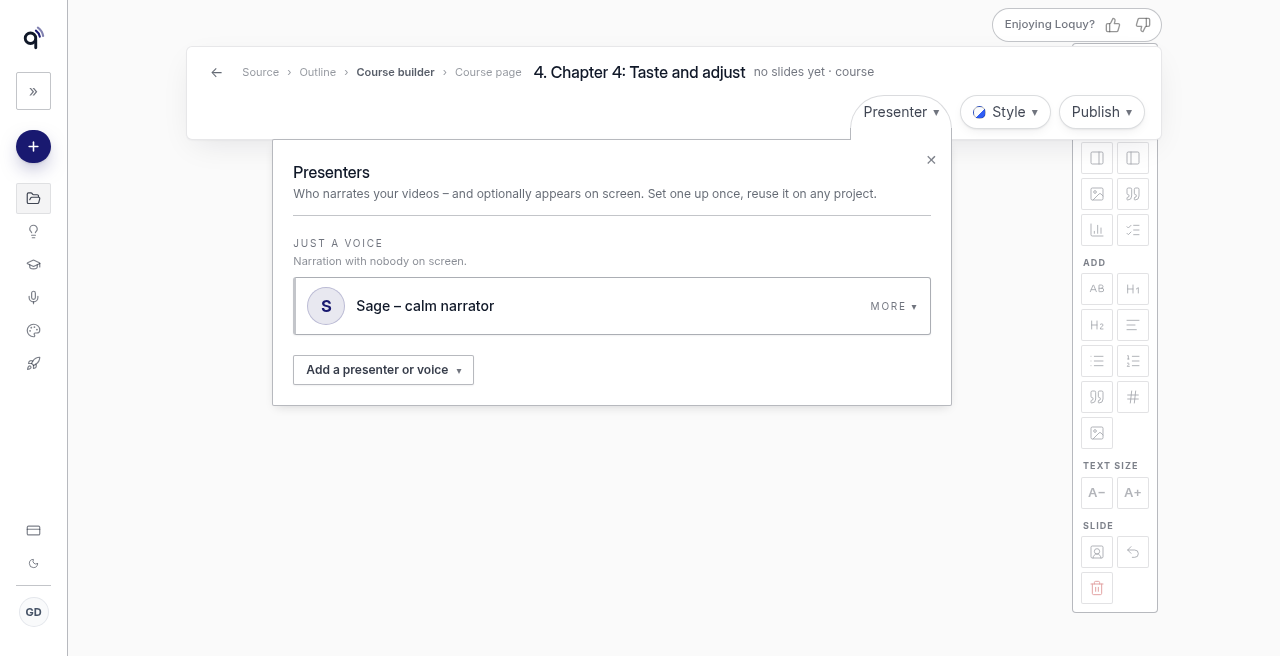
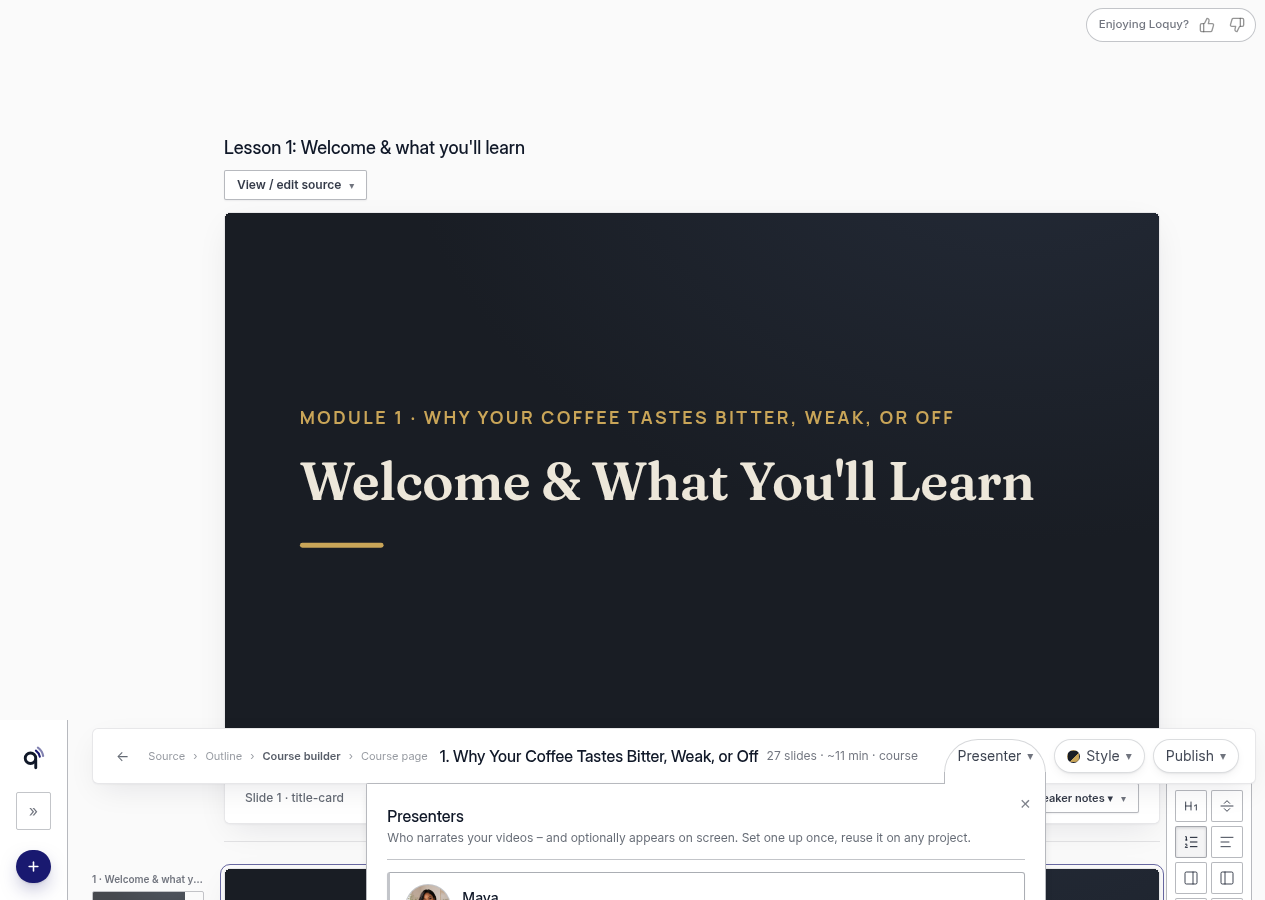
Who the presenter is comes from the Presenter door in the top bar (ready presenters, your clone). The panel title is Presenters. Set that once, then choose which slides show the face. See Voices and presenters for clone setup and the catalog. The per-slide mechanics stay on this page.
Add presenter on this slide
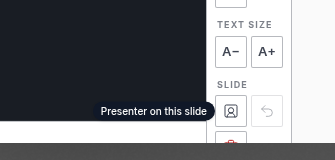
In the right toolbar, click the person-in-a-square icon. The tooltip reads Presenter on this slide. After the frame is on the slide it reads Presenter on this slide – click frame to position.
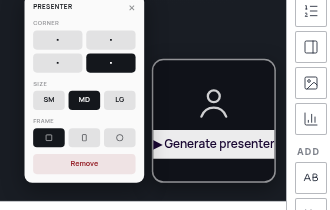
Clicking it drops the presenter frame onto the slide (bottom-right by default). Clicking again removes it. It is per-slide — you choose exactly which slides your presenter appears on. An empty frame shows Generate presenter.
Position, size, and frame
Click the presenter frame on the slide to open its settings.
- Corner — four dots for top-left / top-right / bottom-left / bottom-right
- Size — SM / MD / LG
- Frame — square / vertical 9:16 / circle (vertical is the pick for Shorts-style clips)
Remove lives here too.
The preview clip
The first time, the PRESENTER CLIP row says Generate clip (the frame overlay says Generate presenter). Click once. While it runs you may see Generating presenter clip – in progress. When it is done, the row says Regenerate clip, a play button appears on the frame, and Speaker notes shows Save & regenerate clip (~12 cr/15s) (it stays disabled until you edit the script).
Business's 30-minute avatar bank is used before credits.
Toolbar reference
The right toolbar ADD group lets you drop in Kicker, Heading, Subheading, Paragraph, Bullets, and the rest (Numbered list, Quote, Stat, Image).
The same toolbar has Undo (⌘Z) and Delete slide.
Render and download
The Publish ▾ door has Render video → (or Re-render if a video already exists) and Downloads.